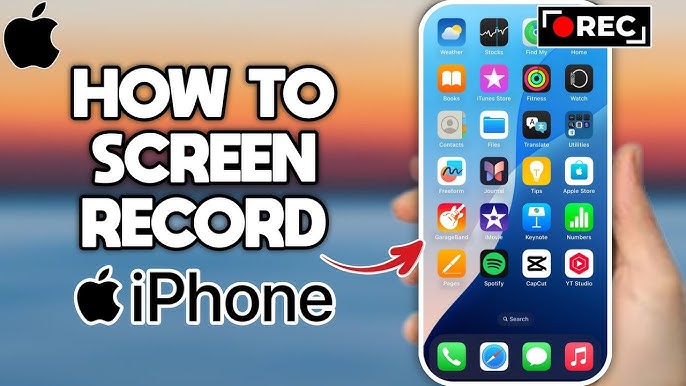
Screen recording on an iPhone is a powerful feature that helps you capture tutorials, app demos, gameplay, presentations, and anything displayed on your screen. Whether you’re a creator, student, teacher, or simply want to share something quickly, the built-in screen recorder makes the process simple and effective.
Below is a complete guide on how to screen record on any iPhone running iOS 11 or later.
1. Add Screen Recording to Control Center (If Not Visible)
Before you begin, make sure the Screen Recording toggle is enabled in the Control Center.
Steps:
- Open Settings.
- Tap Control Center.
- Scroll down and tap + Screen Recording to add it.
2. Open the Control Center
How you open Control Center depends on your iPhone model:
- iPhone X and later: Swipe down from the top-right corner.
- iPhone 8 and earlier: Swipe up from the bottom of the screen.
3. Start Screen Recording
Steps:
- Open Control Center.
- Tap the Screen Record icon
(a white circle inside another circle). - A 3-second countdown begins.
- Recording starts, shown by a red indicator bar at the top of your screen.
4. Record Audio (Optional)
If you want to record voice narration, follow this:
- Press and hold the Screen Record icon.
- Tap Microphone On.
- Start recording.
5. Stop the Recording
You can stop recording in two ways:
- Tap the red bar at the top → tap Stop
- OR open Control Center → tap the recording icon again
The video will save automatically to the Photos app.
6. Find Your Screen Recording
To view it:
- Open Photos.
- Go to Recents or Videos.
- Tap the recording to watch, edit, or share.
7. Edit Your Screen Recording
The Photos app allows basic editing:
- Trim the video
- Adjust exposure, colors, filters
- Add text or effects
- Crop the frame
Tap Edit → make changes → tap Done.
8. Share Your Screen Recording
You can share your video directly from the Photos app via:
- Messages
- AirDrop
- Social media
- Cloud storage (Drive, iCloud, Dropbox)
9. Use Third-Party Apps (Optional)
If you want advanced controls, consider apps like:
- DU Recorder
- Record It!
- TechSmith Capture
These offer features like webcam overlays, advanced editing, and live streaming.
Tips for Better Screen Recordings
- Plan ahead: Know what you want to show.
- Enable Do Not Disturb: Prevent notifications from popping up.
- Clear your screen: Close unnecessary apps.
- Use good lighting if recording external audio.
- Check storage: Long recordings need enough space.
1. How do I screen record on an iPhone?
Open Control Center → tap the Screen Record icon → wait for the countdown → recording begins.
2. Why can’t I find the screen record button?
Add it by going to Settings → Control Center → Add Screen Recording.
3. Where are screen recordings saved on iPhone?
All recordings save automatically to the Photos app under Recents or Videos.
4. How do I record screen with sound on iPhone?
Hold the Screen Record icon → tap Microphone On → start recording.
5. Can I screen record FaceTime calls?
You can record your screen, but due to privacy, other people’s audio may not record unless they consent.
6. How long can an iPhone screen record?
There is no set time limit—you can record as long as you have storage space.
7. Does screen recording capture notifications?
Yes. Turn on Do Not Disturb to avoid interruptions.
8. Can I edit my screen recording on iPhone?
Yes, you can trim, crop, add filters, and adjust settings directly in the Photos app.


Leave a Reply